Last summer, a neighbor called me over to inspect her potted rosemary — the leaves had turned a dull bronze and were laced with faint webbing she assumed came from a common garden spider. It wasn't a spider. It was a full-scale mite colony that had already spread to three neighboring containers. If your plants are showing the same warning signs, you need to act immediately. Knowing how to get rid of spider mites before they establish a colony is the difference between saving your garden and watching it decline week by week. For more pest control and plant care guides, visit our gardening tips section.
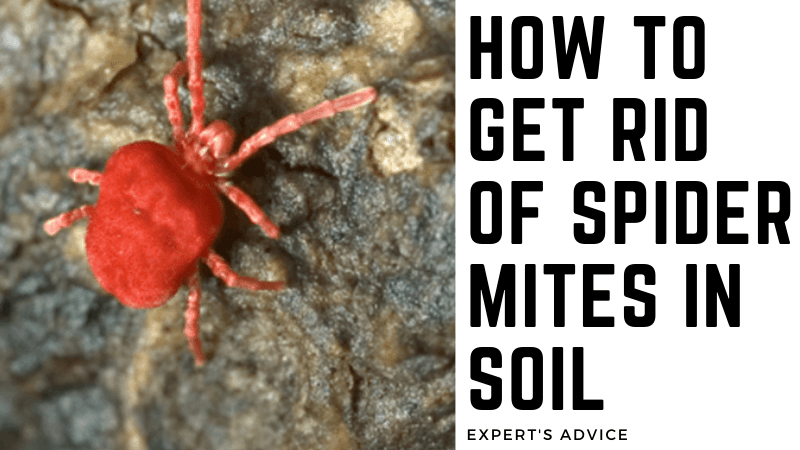
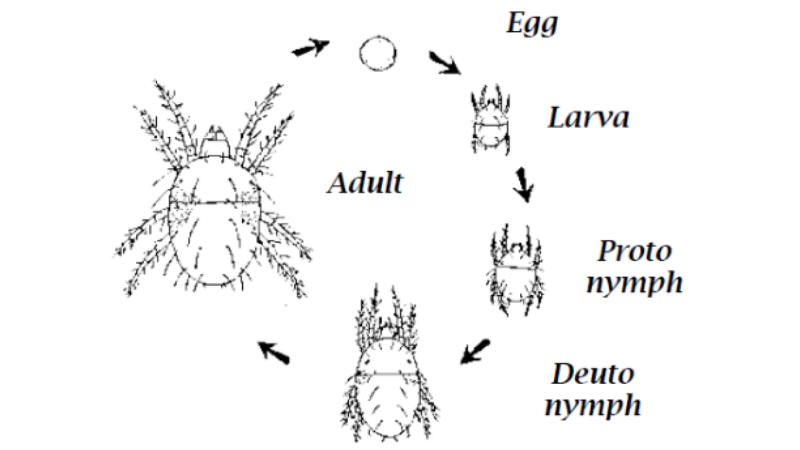
Spider mites (Tetranychus urticae and related species) are arachnids, not insects — a distinction that matters enormously when choosing a treatment. Most standard insecticides have little to no effect on them. They feed by piercing plant cells and extracting the contents, leaving behind a characteristic stippled, yellowing pattern on foliage. A single female lays up to 200 eggs during her short lifespan, and in warm, dry conditions, those eggs hatch within three to five days. That's how one mite becomes thousands in under two weeks.
Effective treatment requires attacking on two fronts simultaneously: the plant canopy and the soil. Mites don't just live on leaves — they shelter in the top layer of soil and plant debris between feedings, which is why treating leaves alone consistently fails. Whether you're fighting an outbreak while working to control humidity in your grow tent, managing outdoor vegetable beds, or tending a container garden on a patio, the core approach is the same: eliminate the active population now, then put systems in place to stop the next wave.
Contents
Where Spider Mites Strike — and How to Identify Them

Spider mites are opportunists. They move in when plants are stressed, air is dry, and nobody is paying close attention. By the time webbing becomes visible to the naked eye, you're already dealing with a mature infestation — the time to act was days ago.
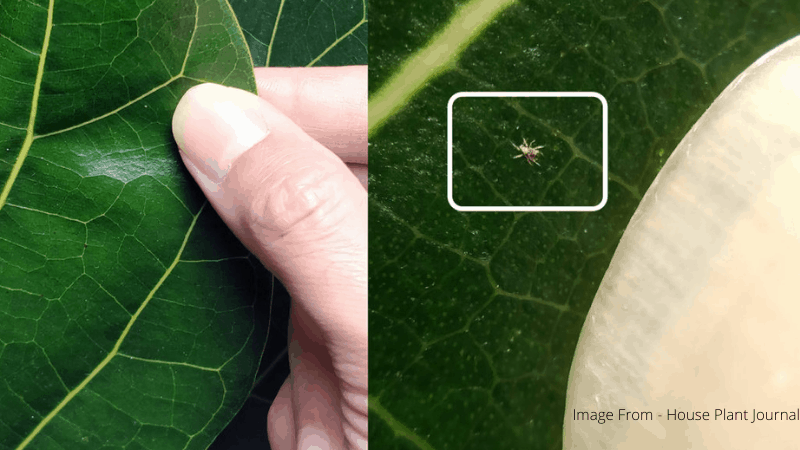
Signs of Infestation in Soil and on Foliage
Most gardeners catch mites too late because early symptoms are subtle. Here's what to look for at each stage:
- Early stage: Tiny pale or yellow specks on the upper side of leaves — these are individual feeding puncture sites
- Mid stage: A bronze or silver sheen across entire leaves; fine webbing beginning to appear along stems and leaf undersides
- Advanced stage: Dense webbing draped across multiple plants; leaves curling, desiccating, and dropping
- In the soil: Mites overwinter in the top layer, especially in plant debris near root zones — inspect with a 10x loupe after disturbing the surface
The fastest field test is the paper method: hold a white sheet under a branch and tap the stem sharply. Tiny moving dots on the paper confirm mite activity before visible damage appears.
Which Plants Are Most at Risk
Spider mites target a wide range of plants, but they have clear favorites. Tomatoes, cucumbers, beans, strawberries, roses, and most herbs face the highest outdoor risk. Indoors, pothos, ivy, peace lilies, and any plant kept in low-humidity conditions are prime targets. If you're growing tomatoes under artificial light, the warm, dry environment typical of indoor setups creates exactly the conditions mites exploit — inspect leaf undersides at least twice a week.
How to Get Rid of Spider Mites Fast: Immediate Treatments

Once you confirm an infestation, your first move is damage control. Every day you wait, the population can double. These immediate steps knock the colony back before you start a sustained treatment plan.
Physical Removal and Water Sprays
Start with the most direct methods. They're free, effective, and place no chemical burden on your plants or soil:
- Blast plants with a strong jet of water, focusing on leaf undersides where mites concentrate — repeat daily for one week
- Wipe individual leaves with a damp microfiber cloth to physically remove mites, eggs, and webbing
- Prune and bag heavily infested branches immediately — do not compost them, discard them away from the garden
- For potted plants, remove and replace the top inch of soil, which harbors sheltering mites and egg masses
Water sprays alone don't eliminate every mite, but they disrupt reproduction cycles and reduce populations enough for follow-up treatments to finish the job effectively.
Natural Sprays That Kill on Contact
Several natural compounds kill spider mites on direct contact by disrupting their respiratory and nervous systems. Apply as sprays to all infested surfaces, and repeat every three to five days to intercept newly hatched eggs.

Capsaicin (hot pepper spray): Blend several hot peppers with water, strain thoroughly, and spray. Capsaicin disrupts mite feeding behavior and deters new arrivals. Reapply after every rainfall.
Neem oil: Cold-pressed neem oil mixed with water and a few drops of dish soap creates one of the most effective organic miticide sprays available. It kills adults, disrupts egg development, and treats the soil surface when applied as a drench. Neem is a core tool for anyone learning how to get rid of spider mites without synthetic chemicals.
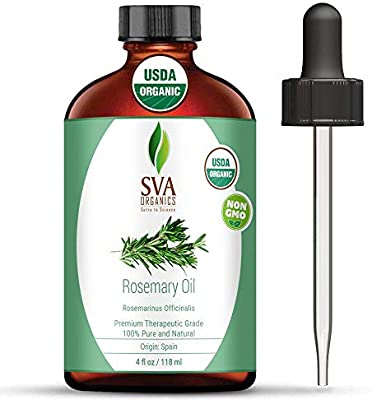
Rosemary essential oil: Dilute 1–2 teaspoons per quart of water. Rosemary oil is especially effective against eggs and nymphs and integrates well into a spray rotation to prevent resistance buildup.

Diluted vinegar: One part vinegar to three parts water kills mites on contact. Never apply undiluted — it damages leaf tissue. Test on a single leaf before treating the whole plant.
Pro tip: Rotate between at least two different spray compounds — neem oil one application, then rosemary or capsaicin the next — because spider mites develop resistance to individual compounds within just a few generations of repeated exposure.
Choosing the Right Treatment for Your Situation
Not every infestation calls for the same response. The severity of the outbreak, the type of plants involved, and whether you're growing food all determine which tools to reach for first.
When Organic Solutions Are Enough
Organic treatments handle most infestations decisively when caught early. If stippled leaves appear on fewer than 30% of your plants and there's no heavy webbing, start with neem oil or rosemary oil sprays every three days for two weeks. Combine with daily water sprays and top-soil removal in containers. For food crops, organic solutions are the only responsible choice — most synthetic miticides carry pre-harvest intervals of 7–14 days that you can't ignore.
When to Reach for Chemical Miticides
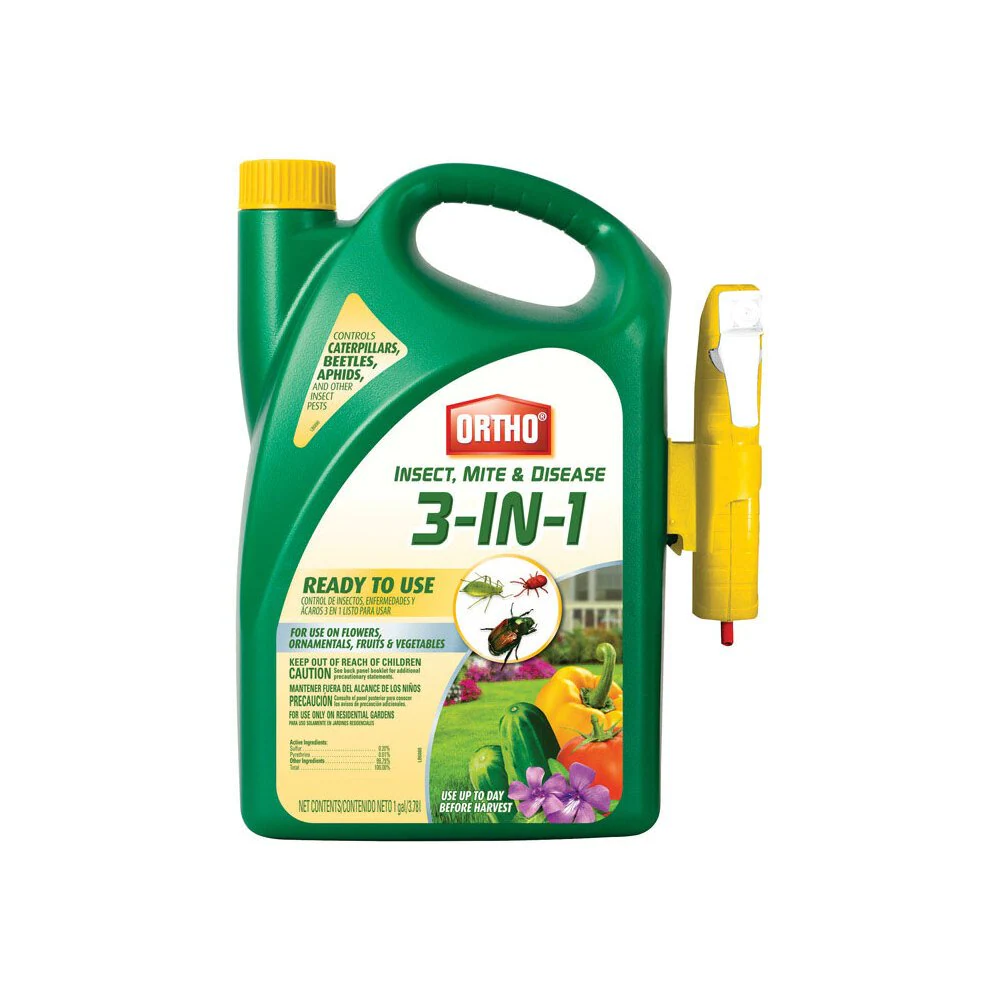
Chemical miticides are appropriate when a severe infestation is spreading rapidly across multiple plants and organic treatments aren't gaining ground after seven to ten days. Products containing bifenazate, spiromesifen, or abamectin are effective systemic options. Always rotate active ingredients between applications — mite populations develop resistance to individual chemicals within a single generation.
| Treatment | Best For | Application Frequency | Safe for Food Crops? | Kills Eggs? |
|---|---|---|---|---|
| Neem oil spray | Mild to moderate infestations | Every 3–5 days | Yes | Partially |
| Rosemary essential oil | Egg and nymph control | Every 3–5 days | Yes | Yes |
| Capsaicin spray | Contact kill and deterrence | Every 5–7 days | Yes | No |
| Diluted vinegar | Spot treatment, small areas | Every 4–5 days | Yes (diluted) | No |
| Diatomaceous earth | Soil surface and crawling adults | After each watering | Yes (food grade) | No |
| Chemical miticide | Severe, fast-spreading outbreaks | Per product label | Check label | Depends on product |
Building a Long-Term Defense Against Spider Mites
Killing the current generation is only half the job. Mite eggs in the soil and on plant debris will produce the next wave within days of your last treatment. A durable defense means closing the loop — treating soil, recruiting natural predators, and making your garden structurally hostile to reinfestation.
Biological Controls That Work
Predatory mites are among the most effective long-term tools available. Phytoseiulus persimilis and Neoseiulus californicus prey specifically on spider mites and establish themselves in your garden without any chemical input. Release them at the first confirmed sign of infestation, before populations become unmanageable. Lacewings and ladybugs also consume mites in significant numbers and are easy to introduce via mail-order suppliers.
Beneficial nematodes applied as a soil drench won't target spider mites directly, but they suppress soil-dwelling pest populations that keep plants under chronic stress. Stressed plants are the primary target for mite colonization — anything that improves overall plant health reduces vulnerability. For more on how different soil treatments affect beneficial organisms, see our guide on how nematodes respond to soil treatments.
Treating Contaminated Soil Directly
The soil around infested plants harbors mites, eggs, and nymphs that foliar sprays never reach. Address soil contamination directly with these methods:
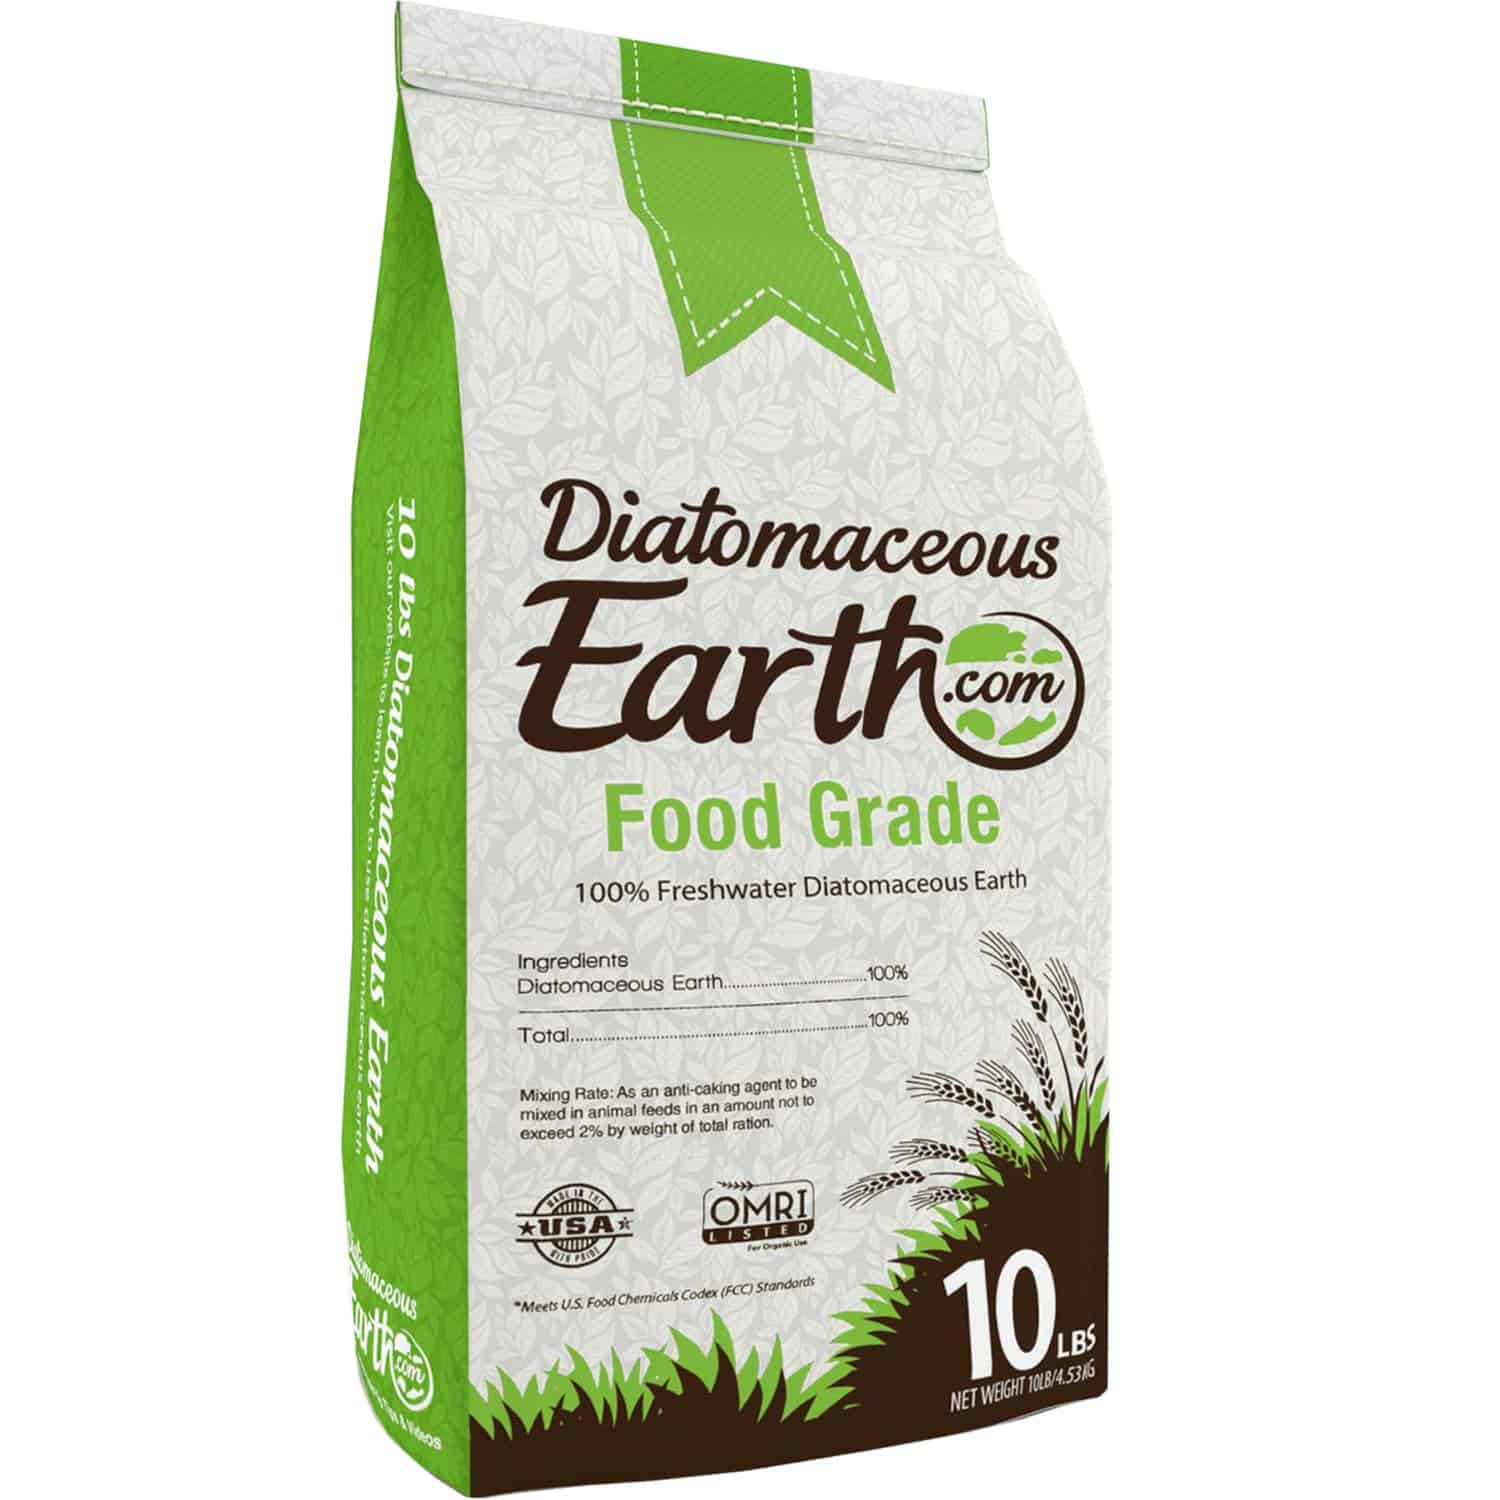
- Diatomaceous earth (food grade): Dust the top inch of soil around plant bases. The fine silica particles damage mite exoskeletons as they cross the surface, causing fatal dehydration. Reapply after every watering or rainfall.
- Neem soil drench: Mix cold-pressed neem oil with water and a drop of liquid soap, then drench the root zone thoroughly. This treats soil-level mites and disrupts eggs laid in the substrate.
- Full soil replacement: For containerized plants with severe infestations, replacing all potting mix is the most reliable reset available. Remove the plant, discard the old soil off-site, scrub the container with hot soapy water, and repot with fresh sterile mix.
Keeping Your Plants and Soil Mite-Free Season After Season
Gardeners who rarely deal with mite outbreaks aren't lucky — they've built environments that make colonization difficult from the start. Most prevention comes down to consistent routine and attention to a few controllable growing conditions.
Environmental Controls That Deter Mites
Spider mites thrive in hot, dry, dusty conditions. Adjust your growing environment to remove those advantages before mites can capitalize on them:
- Keep relative humidity above 50% — mite reproduction slows dramatically in humid air. This is especially important if you're building a grow box for vegetables, where you control all climate variables directly.
- Avoid overfeeding plants with high-nitrogen fertilizers — lush, soft new growth is significantly more attractive to feeding mites
- Water consistently at the base of plants rather than from overhead — drought-stressed plants signal weakness chemically, actively attracting pest pressure
- Keep tools, potting benches, and work surfaces clean between uses — mites hitch rides on contaminated equipment and clothing
Building these habits early in your gardening practice prevents most pest problems well before they start. The 32 gardening tips for beginners guide covers foundational practices that pay dividends across every plant you grow.
Building a Weekly Inspection Routine
The single most effective thing you do against spider mites is look at your plants — really look — every week. Not a casual glance, but a deliberate inspection with a 10x loupe checking leaf undersides, stem joints, and the soil surface near plant bases. Early detection means treating dozens of mites instead of millions.
- Quarantine all new plants for a minimum of one week before placing them near existing garden plants or collections
- Check high-risk crops — tomatoes, cucumbers, beans, roses — twice weekly during warm, dry periods
- After any treatment, inspect every three days for two full weeks — mite eggs hatch on a predictable cycle and each new generation needs to be intercepted before it reproduces
Frequently Asked Questions
Can spider mites live in soil?
Yes. Spider mites lay eggs in the top layer of soil and take shelter there when surface conditions become unfavorable. Treating only the plant leaves while ignoring the soil is the primary reason infestations return after treatment. Always address both the foliage and the top inch of soil to break the reproductive cycle completely.
How do I know if I have spider mites and not a different pest?
The paper test provides fast confirmation: hold white paper under a branch and tap firmly. Tiny moving dots on the paper indicate mites. Webbing is the other reliable indicator — thrips and aphids don't produce it. A 10x magnifying glass will clearly show the classic eight-legged oval body that distinguishes spider mites from other pest species.
Does neem oil kill spider mite eggs?
Neem oil disrupts egg development and kills newly hatched nymphs on contact, but it doesn't reliably penetrate and kill fully formed eggs. This is why consistent reapplication every three to five days is essential — you need to intercept each new generation as it hatches before it reaches reproductive maturity.
How long does it take to fully eliminate spider mites?
With consistent treatment — daily water sprays plus an organic miticide applied every three to five days — most infestations show significant improvement within two weeks. Complete elimination, including soil-level populations, typically requires three to four weeks of sustained effort. Never stop treatment early just because visible mites disappear; eggs in the soil will produce the next generation within days.
Are spider mites dangerous to humans or pets?
Spider mites do not bite humans or pets and pose no direct health risk — they are purely plant pests. However, the products used to treat them, particularly chemical miticides, can be harmful if inhaled or ingested. Follow all label instructions and keep treated plants away from pets and children until the spray is completely dry.
Can I use rubbing alcohol to kill spider mites?
Isopropyl alcohol at 70% kills spider mites on contact when applied directly. Dilute it at a 1:1 ratio with water and apply with a soft cloth to individual leaves, or as a spray for larger infestations. Test on one leaf first before treating the entire plant — some species are sensitive to alcohol. Never apply in direct sunlight, which intensifies the drying and burning effect on foliage.
What causes a sudden spider mite outbreak?
Spider mites explode in population when temperatures rise above 80°F (27°C) and humidity drops below 40%. Drought-stressed plants, overuse of nitrogen-heavy fertilizers that produce soft vulnerable tissue, and the disruption of natural predator populations — often caused by broad-spectrum pesticide applications — are the most common triggers for sudden severe outbreaks.
Spider mites win when you react too late and quit too early — catch them at the first sign, treat the soil as hard as the leaves, and keep going until they're truly gone.


About Lee Safin
Lee Safin was born near Sacramento, California on a prune growing farm. His parents were immigrants from Russia who had fled the Bolshevik Revolution. They were determined to give their children a better life than they had known. Education was the key for Lee and his siblings, so they could make their own way in the world. Lee attended five universities, where he studied plant sciences and soil technologies. He also has many years of experience in the U.S. Department of Agriculture as a commercial fertilizer formulator.
Get FREE Gardening Gifts now. Or latest free toolsets from our best collections.
Disable Ad block to get all the secrets. Once done, hit any button below