How to Build a Garden Bridge – [Guide For Wooden/Pallets/Arch/Ditch]
by Lee Safin
Nothing is more delightful than building a beautiful garden bridge with your own hands. Are you aware of how to build a garden bridge that can help you to pass uneven sloping?
Just because you have never tried to make a garden bridge doesn’t mean you can’t do it.
Yes! You can do it when you have the right information and follow the correct instruction to build it.
Different types of garden bridges you can make for your garden work as an accent apart from supporting you to step over uneven surfaces.
Due to the difference in our gardens, our needs differ. That’s why we will share several ways to build a garden from different materials and on different surfaces. Just read in!
Contents
- Benefits of Having a Garden Bridge
- Things You Should Consider Building a Garden Bridge
- How to Build a Garden Bridge from Pallets?
- How to Build a Small Japanese Garden Bridge?
- Step 1 – Measure and Cut The Lumbers
- Step 2 – Put The Nails
- Step 3 – Draw The Smaller Curve
- Step 4 – Cut and Place The Curved Board
- Step 5 – Maintain The Alingment
- Step 6 – Use the Square Floorboard
- Step 7 – Measure the Distance
- Step 8 – Place the Handrail Posts
- Step 9 – Use the Jigsaw
- Step 10 – Tighten The Screws
- Step 11 – Determine The Length of a Handrail
- Step 12 – Cut The Lumber
- Step 13 – Give The Finishing Touch
- How to Build a Garden Bridge with an Arch?
- How to Build a Small Bridge Over a Ditch?
- Final Words
Benefits of Having a Garden Bridge

Before knowing how to build a wooden garden bridge, it is essential to learn what benefits you will have from a handmade garden bridge.
- It will add charm to make your garden more beautiful as a focal point.
- It allows you to reach difficult places easily, especially if your garden has a pond.
- It keeps children safe from falling on the pond or other risky spots.
- It can help people who use wheelchairs or mobility chairs roam around the garden.
Things You Should Consider Building a Garden Bridge
When you can answer a series of essential questions, it becomes easy to build a bridge effortlessly.
- Will the bridge need to accommodate the elderly or young children?
- How often will it be used?
- How much weight it can hold at the highest level?
You can build a bridge that is well-constructed when you have all these answers.
How to Build a Garden Bridge from Pallets?
If you want to know how to build a garden bridge from pallets in a simple way, you can follow the below-mentioned steps.
These techniques are super simple and don’t require breaking your bank balance. Because you need only a few materials to build them. When you work with full attention and care, you can obtain a professional look by following our step-by-step guidelines. It is best to spray a few coats of varnish everywhere on the garden bridge to prevent the decomposition of wood or water damage.
Step 1 – Clean out All The High-grasses
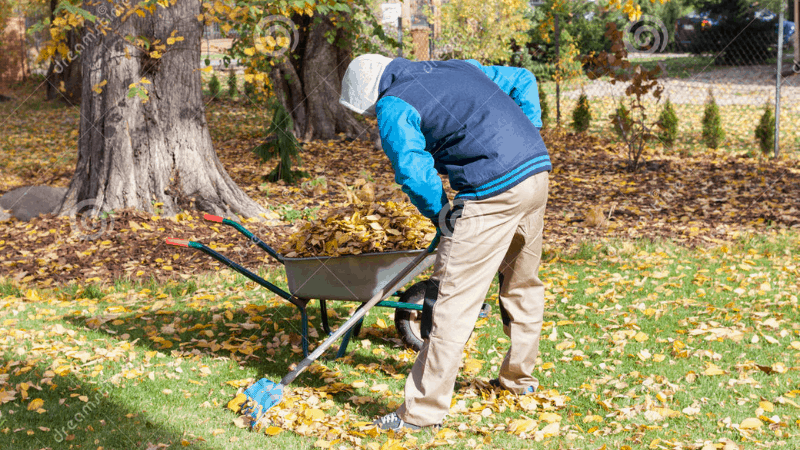
Let’s start our journey of knowing how to build a wooden garden bridge with this step. First of all, you will clean out all the high-grasses and other creepy things from the work area. Plus, use a shovel or rake to clear around the bridge side. Make it super clean so that your task for building a bridge becomes easy.
Step 2 – Set up Pier Blocks
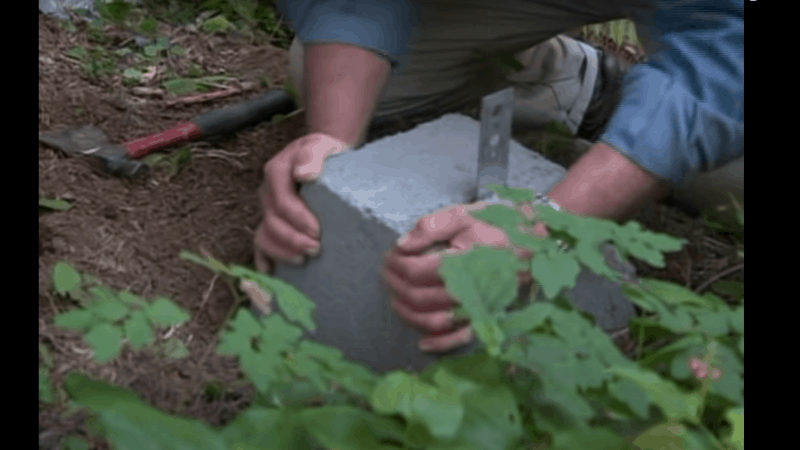
Set up pier blocks over the areas that were cleared. The pier blocks should be placed on the end of the beams to account for the maximum height and width of the bridge.
You can also use stainless steel pier blocks instead of concrete.
In this case, we recommend Kjxxkj Stainless steel pier blocks for durability. If you want to use aluminum then we will recommend Emliviar Pier Mount Base for a stable structure.
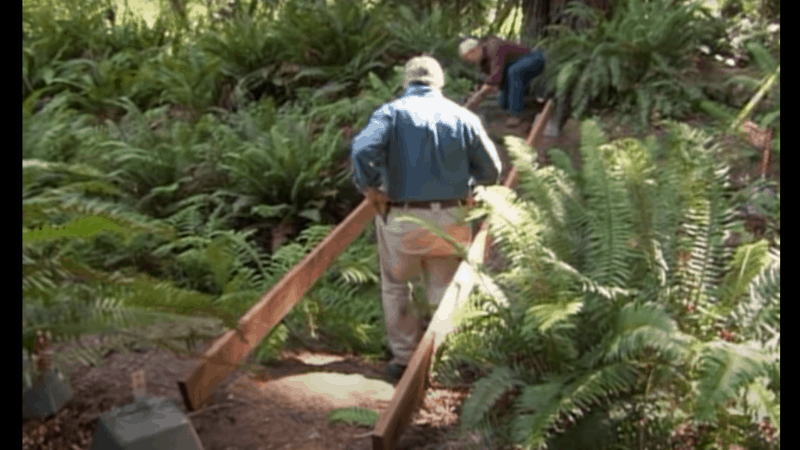
Step 3 – Set the Beams in Place
Here comes another important step of knowing how to build a mini garden bridge. Set the beams in place, and fasten them with nails to the blocks. It is necessary to shim the beams with boards to get them roughly level.
Step 4 – Beams Should be Attached to Pallets
Beams should be attached to pallets. Make sure to add 2×4 steps on the outside of your pallets to make them flush with the beams. On top of that, both ends should have sufficient space for a 2×6 step.
You may need heavy-duty adhesives while we recommend the Gorilla Heavy Duty for the optimal objective.
Step 5 – Maintain The Alignment
Next, nails should be used to attach the pallet halves to the beams and deck pallets to make a rail for the bridge. Nailing must be done on an angle.
We recommend these Heavy Duty Nut to make the structure more durable.
Step 6 – Finishing Touch
As per your requirement, it may necessary to attach a 2×6 at each end of the beams. Since it is optional, go for it if you think you need it. However, remember the beam should adhere to the bottom of your foot instead of bearing the weight.
Hopefully, now you know how to build a garden bridge from pallets without taking professional help. As it is a simple technique developed for a pallet bridge, you should not expect to have a fancy one.
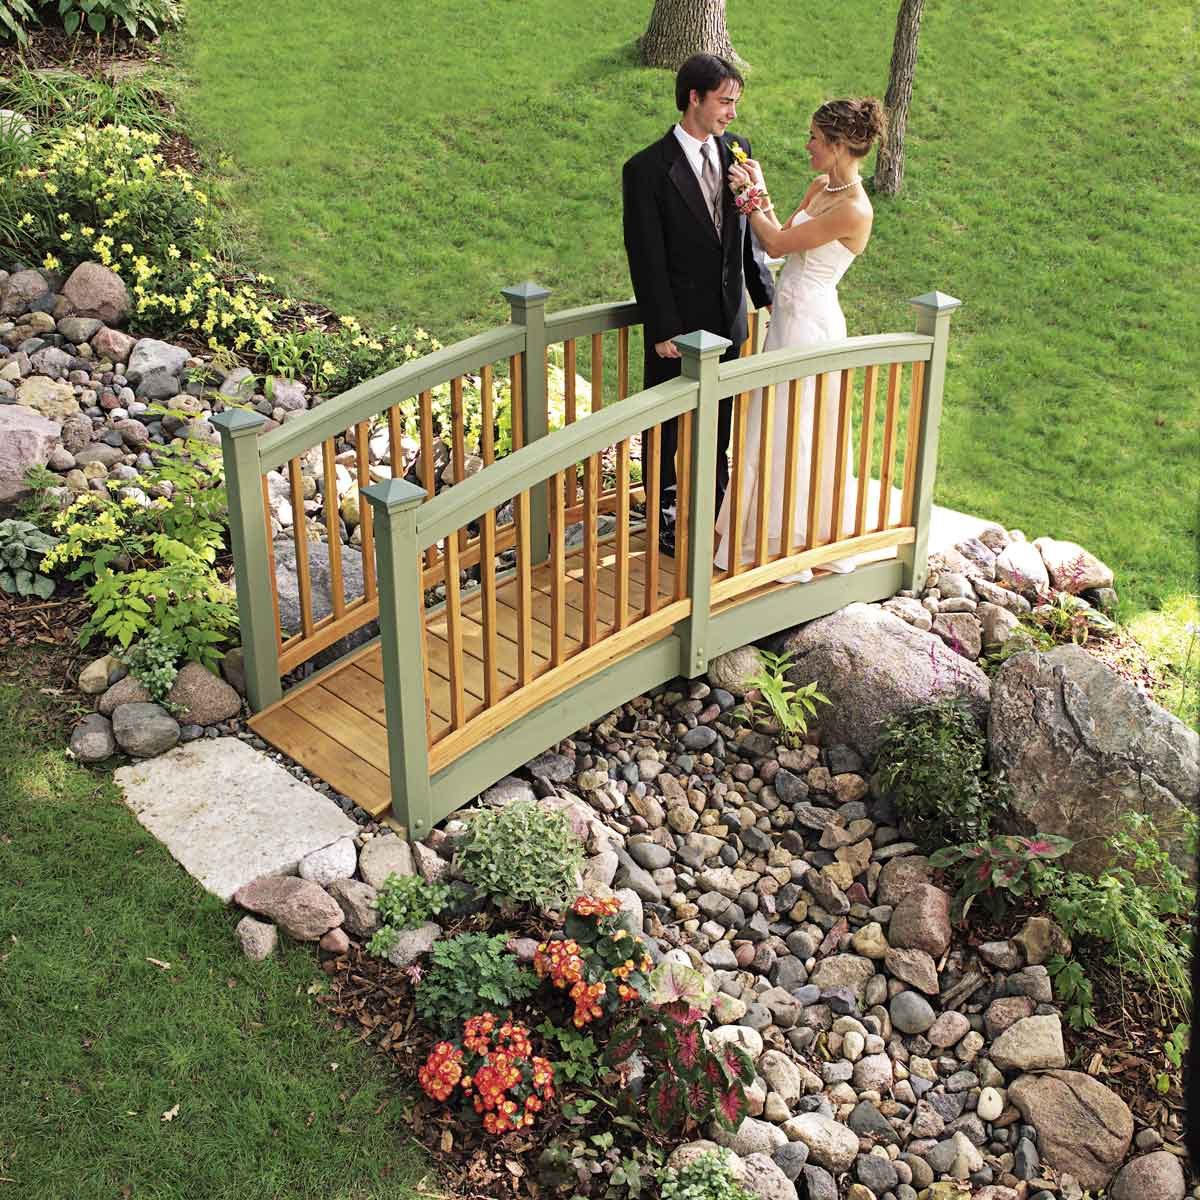
How to Build a Small Japanese Garden Bridge?
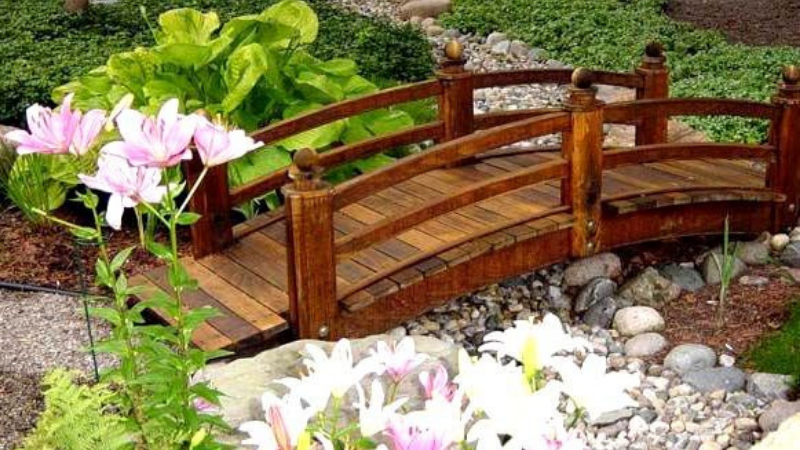
Knowing how to build a small Japanese garden bridge will help you bring a sense of tranquillity apart from ensuring transition. It can benefit your beautiful garden as a decorative element, too.
Step 1 – Measure and Cut The Lumbers


To begin with the process of the Japanese garden bridge, measure and cut the 2-by-12-inch lumber as needed. The size of a small Japanese garden ranges between 6 to 16 feet long. As stringers, the boards will support the walkway boards.
Or you can purchase the Hickory Lumber Board directly.
Step 2 – Put The Nails
Put a nail that is four inches long at the roof point, middle position of one of the 2-by-12-inch boards, just deep enough to stick out 2 to 3 inches. For instance, if you want to build a 16-feet bridge, drive the nail in 8-feet from the floor.

This center nail should be wrapped in bender-board or conduit while curving the board so that the ends are within 2 inches of the bottom corners. The top curve for the bridge is marked along the conduit or bender board using a pencil. Use a jigsaw or circular saw to cut the wood while following the curved line.
Step 3 – Draw The Smaller Curve
On the bottom of the board, draw a smaller curve to reflect the larger top curve. And, about 10 inches of the board should be left on the ends. Cut out this curve.
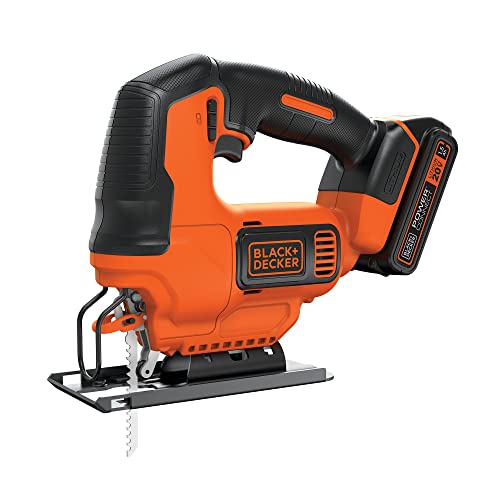
You can use the BLACK+DECKER Smart JigSaw which is the most perfect one for the job.
Step 4 – Cut and Place The Curved Board
If you want to know how to build a wooden garden bridge in Japanese style, do this step carefully. Lay the board that you have cut and place the curved board atop the other 2-by-12-inch board. The second board is marked with the outline of the curved board. Curve the second board using a circular saw or jigsaw.
Step 5 – Maintain The Alingment
The top curves of the curved boards should be facing upward, positioned about 4 feet apart.

Using Fowler calipers, measure the distance between the outside edges of two boards. The floor planks for the bridge should have a length of 4 inches. With the extra 4 inches, the bridge can have a 2-inch overhang on either side. This length can be achieved by cutting several 2-by-6-inch pieces of lumber.
Step 6 – Use the Square Floorboard

Cross each end of the bridge with a 2-inch-square floorboard, or plank, across a pair of 2-inch-square stringers. Incorporate two screws into each end of each plank by driving them three inches into the wood. Install the screws into the stringers as well.
Step 7 – Measure the Distance
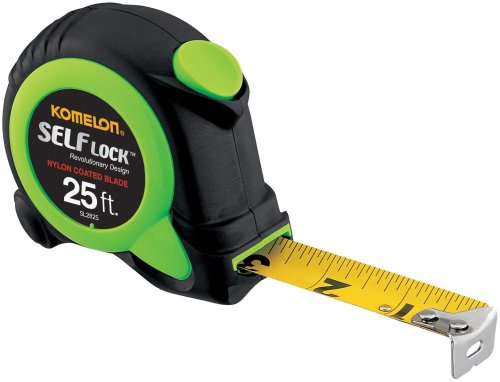
Within each plank, place a measuring tape inside the stringer and measure the distance between the bottom and top. This measurement should be increased by 4 feet to find the length of the handrail posts. Cut two-by-four-inch lumber to that length to create four handrail posts.
Step 8 – Place the Handrail Posts

Place the handrail posts behind the installed floor planks on the end of the bridge. Floor planks with handrail posts facing the bridge’s center should have those posts on them. It is ideal for the posts to face outward from the stringers so that the wide side faces outward. Place the handrail posts in parallel when using a carpenter’s level, and adjust them to make them straight or plumb. The screws should be evenly spaced to prevent them from splitting.
Step 9 – Use the Jigsaw
Use a jigsaw for each notch to cut 2-by-6 floor plank so that it accommodates the handrail post. Over the stringers and handrail posts, install the notched plank. A three-inch wood screw should be driven into every stringer, and another screw should be driven at an angle into every post. On the opposite end of the bridge, build a second notch in a 2-by-6 floor plank at the handrail posts.
Step 10 – Tighten The Screws
Across the stringers, place the remaining 2-by-6 planks of wood. Two screws of three inches each are screwed into each plank end, securing each board in place.
Step 11 – Determine The Length of a Handrail
To determine the length of a handrail, measure the distance between its outside and the outside of the handrail at the opposite end of the bridge. This measurement should be increased by 8 inches.
Therefore, we have the length of the handrail needed; there is four inches overhang at each end.
Make two handrails from 2-by-4, so they aren’t that long. The handrail should be laid over the posts.
Screw two 3-inch-long wood screws into the posts embedded in the handrails to secure them in place.
Step 12 – Cut The Lumber
The measurement for each handrail post should be taken from the edge of the first to the edge of the second. To make the boards this size, cut two pieces of lumber 1-by-4 inches. Using two 3-inch-long wood screws with two ends, attach the caps approximately 4 inches below the top of the rail posts.
Step 13 – Give The Finishing Touch
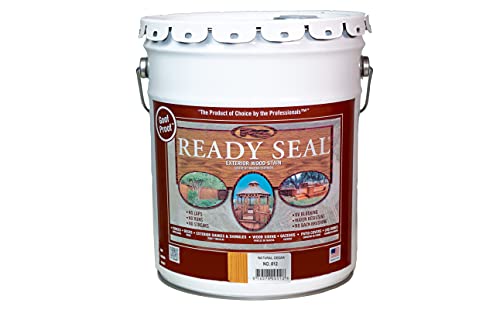
You can protect the wood by applying a wood sealer. Apart from that, you can also use brush exterior paint and exterior primer on the wood.
We hope you have learned how to build a small Japanese garden bridge with step-by-step guidelines.
How to Build a Garden Bridge with an Arch?
A bridge that stands out above the rest water elements helps brings a garden to life. An arched bridge provides great accessibility beyond enchanting your garden look.
Bridges with arch-shaped foundations are the most ancient and hardiest. Here are all the precise details on how to build a garden bridge with an arch.
Step 1 – Select The Placement
Consider the arch and roadway placement when designing your bridge. In most cases, someone thinks of an arch under a road. The roadway can, however, pass through some arch bridges and be suspended from them. An arched bridge incorporated with suspension spans.
Step 2 – Make the Bridge Area Ready for Construction
Make the bridge area ready for construction by excavating and preparing them. Excavation may be necessary to reach the bedrock to place the arch’s ends or abutments. Plus, it could also be necessary to install concrete anchors for the arch to support its weight.
Step 3 – Build The Arch From Both Sides

Here is the most important step of knowing how to build a garden bridge. From both sides, build the arch. As long as both ends of the arch meet each other, the arch will remain unstable.
As per your preference for the material, you can use cables anchored on both sides to support the arch temporarily. Alternatively, you can support the weight by building scaffolding. Arch bridges often need to bear compression loads, which is why you must choose a material that is good in this condition.
Step 4 – Take the Measurements
Take careful measurements of the bridge’s progression. It might be impossible for two sides of an arch to meet in the middle if tolerances are not maintained over time.
Hence, if you don’t take this precaution, you could end up building massive and costly pieces of unusable wood or other materials you will use.
Step 5 – Adjust Both ends
Attach both ends of the arch bridge from the peak level and gradually pull apart the temporary supporting object.
As per the type of arch bridge design you have chosen, the pathway of the bridge can be built up from the arch’s base or suspended from it.
Step 6 – Pave The Arch Bridge
Take advantage of the new pathway by paving your arch bridge.
Here we didn’t mention any specific dimension for building an arched garden bridge. As being said, our garden size, type, and preference are the essential thing, which makes our it different. We hope you are pleased with our guide on how to build a garden bridge with an arch.
How to Build a Small Bridge Over a Ditch?
Though not all of our setup a drainage system in our garden, it is essential for our garden. It prevents excessive water from puddling and helps the water go out of the garden through the path line.
But the problem is that when you install a drainage system, the ditch between the pathways may disrupt you from going from one area to another. Luckily, installing a small ditch bridge solves the issue.
You are wondering how to build a small bridge over a ditch? Here are the guidelines with step-by-step you need to track to build a ditch bridge.
Step 1 – Choose The Perfect Place
Choose a perfect place where you want to cross one end to the other. It is best to pick a spot where both sides are dirt-free and fully or almost flat. Apart from that, as you are making a small bridge, you can’t do it if it is more than 6 feet.
Step 2 – Aside from The Bridge Length
Aside from the bridge length, a bridge width is another essential factor you need to decide. Try to keep the bridge width between 3 to 4 feet. It is suitable to pass over for both people and mowers conveniently.
In four corners, mark the spot with a line 1 foot behind the ditch. It ensures the four points come together.
Step 3 – Cut the Lumbers
Make two 6 foot pieces by cutting the 4x6x12 in half. You’ll need at least 8-10 treated 2x4s and deck screws. Prepare your level and also the shovel or post hole shovel or digger.
Step 4 – Make The Patch
Mark the four corners of the patch and dig up the ground until it reaches a foot (or more). You will fill the holes in the ditch with 4×6’s. Keep digging the ground a minimum of 9-13 inches. It ensures there is enough depth in the post for it to be covered with dirt.
You may struggle a little to complete the tricky task. Because in addition to the elevation of the posts, the ground itself must be level. Making them entirely flat is also necessary. To get yourself perfectly level, straight, and secure, measure across, sideways, and add more soil or dig more to make sure you’re not off-level or out of alignment.
Step 5 – Keep Them Completely Flat
It is one of the most crucial steps for knowing how to build a small bridge over a ditch. The 2×4’s should be cut a length of 3 or 4 feet while keeping them completely flat.
You’ll place them one by one across the posts. To ensure a block-free water flow, keep at least a pinkies length to separate the posts from each other.
Deck screws should be used on both sides, and boards should be laid across with screws. Ensure your boards are level, even, and firmly held. If the board cuts into the ground, you may need to dig it out and fill any gaps between it and the ground.
Step 6 – Protect The Posts

Protect the posts by covering them up properly with a pack. Now use your shovel or feet to make the entrance and exit area of the bridge flat. It will help you step over the bridge conveniently.
Step 7 – Check The Stability
Give it a try. Walk over on it. You are free to seal it, paint it, or do anything you give preference to do. A bridge of this strength should last many years.
Final Words
With a perfect garden bridge plan, you can enchant the overall appearance of your garden and add tremendous value to the property. We already discussed several building techniques depending on the type of garden you want to build.
Hopefully, you got the whole idea of how to build a garden bridge. We appreciate your time in reading the post!
Last update on 2023-01-28 / Affiliate links / Images from Amazon Product Advertising API
Buy them at Walmart, eBay, or Etsy
Kjxxkj Stainless steel pier blocks - Etsy, eBay
Emliviar Pier Mount Base - Etsy, eBay
nail that is four inches - Etsy, eBay
2-by-6-inch pieces of lumber - Etsy, eBay
2-by-6 planks of wood - Etsy, eBay
 |
 |
 |
 |

About Lee Safin
Lee Safin was born near Sacramento, California on a prune growing farm. His parents were immigrants from Russia who had fled the Bolshevik Revolution. They were determined to give their children a better life than they had known. Education was the key for Lee and his siblings, so they could make their own way in the world. Lee attended five universities, where he studied plant sciences and soil technologies. He also has many years of experience in the U.S. Department of Agriculture as a commercial fertilizer formulator.
Thoughts on "How to Build a Garden Bridge – [Guide For Wooden/Pallets/Arch/Ditch]"
|
|
|
|
Get FREE Gardening Gifts now. Or latest free toolsets from our best collections.
Disable Ad block to get all the secrets. Once done, hit any button below
|
|
|
|